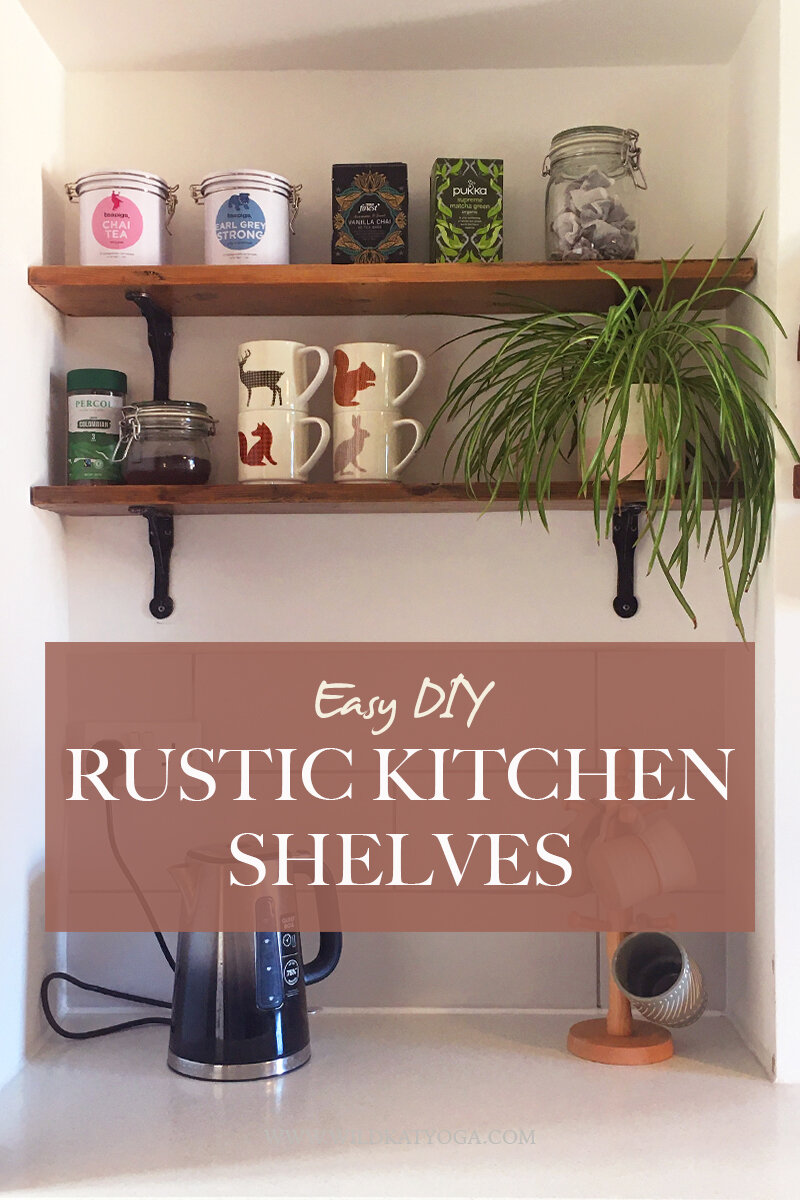
DIY Rustic Kitchen Shelves
If you’re new here, you should know that my husband and I have spent over a year renovating our three bedroom house from top to bottom - I’m talking a full gutting! I’ve linked all these blogs posts at the bottom of this one. So, I don’t want to disillusion you; we have some DIY experience. But even if we didn’t I’m pretty confident that we could tackle this little project!
This blog post contains affiliate links, which means that if you make a purchase through some of the links I provide I can earn a small commission at no cost to you. Thanks for your support.
In preparation for our kitchen floor to be installed we pulled out a section of the old floor boards and refitted this area with MDF (medium density fibreboard), because MDF has less movement than timber floorboards and we plan to tile over the whole floor. This left us with a small pile of old floorboards, which to anyone else might seem like another just thing to throw out but, to us, this is TREASURE - we just LOVE an up-cycle project! So whilst we could have quite easily gone to IKEA, brought some ready-made shelves and thrown our old floorboards in the tip, this sort of thinking just isn’t an option in the world we live in; we can’t just dispose of things because it’s easier. We need to be more responsible about the way we consume!
Reduce, Reuse, Recycle
I’ll level with you - these floorboards are pretty grim. They have been under tiling for YEARS and, in places, they were stained black with dirt. I had some left over sandpaper from sanding down door frames and so I got to work scrubbing them down and pulling the rich, oak colour from them as much as I could. Sanding these old planks by hand took SO LONG. Painfully long! If I did this again I would definitely invest in an electric hand sander. But it was truly satisfying watching the grain of the wood slowly start to pull through.
You can see the natural colour and texture of the wood coming through as I sand
Varnishing. Some of the black stain stuck, but I kind of like the the aesthetic of it.
Ali securing the brackets
When the planks were sanded down, I measured the space to fit them and asked Ali' to cut them down to size using a hand saw - he’s become pretty pro at this so it didn’t take him too long. Then I rounded off the edges with sand paper and gave them another once-over before varnishing. We had some old varnish left over from varnishing the floorboards in our living room, but buying a small tub of wood varnish is easy enough. I always like to go for a natural stain too, so as not to detract from the wood itself, imperfect as it is.
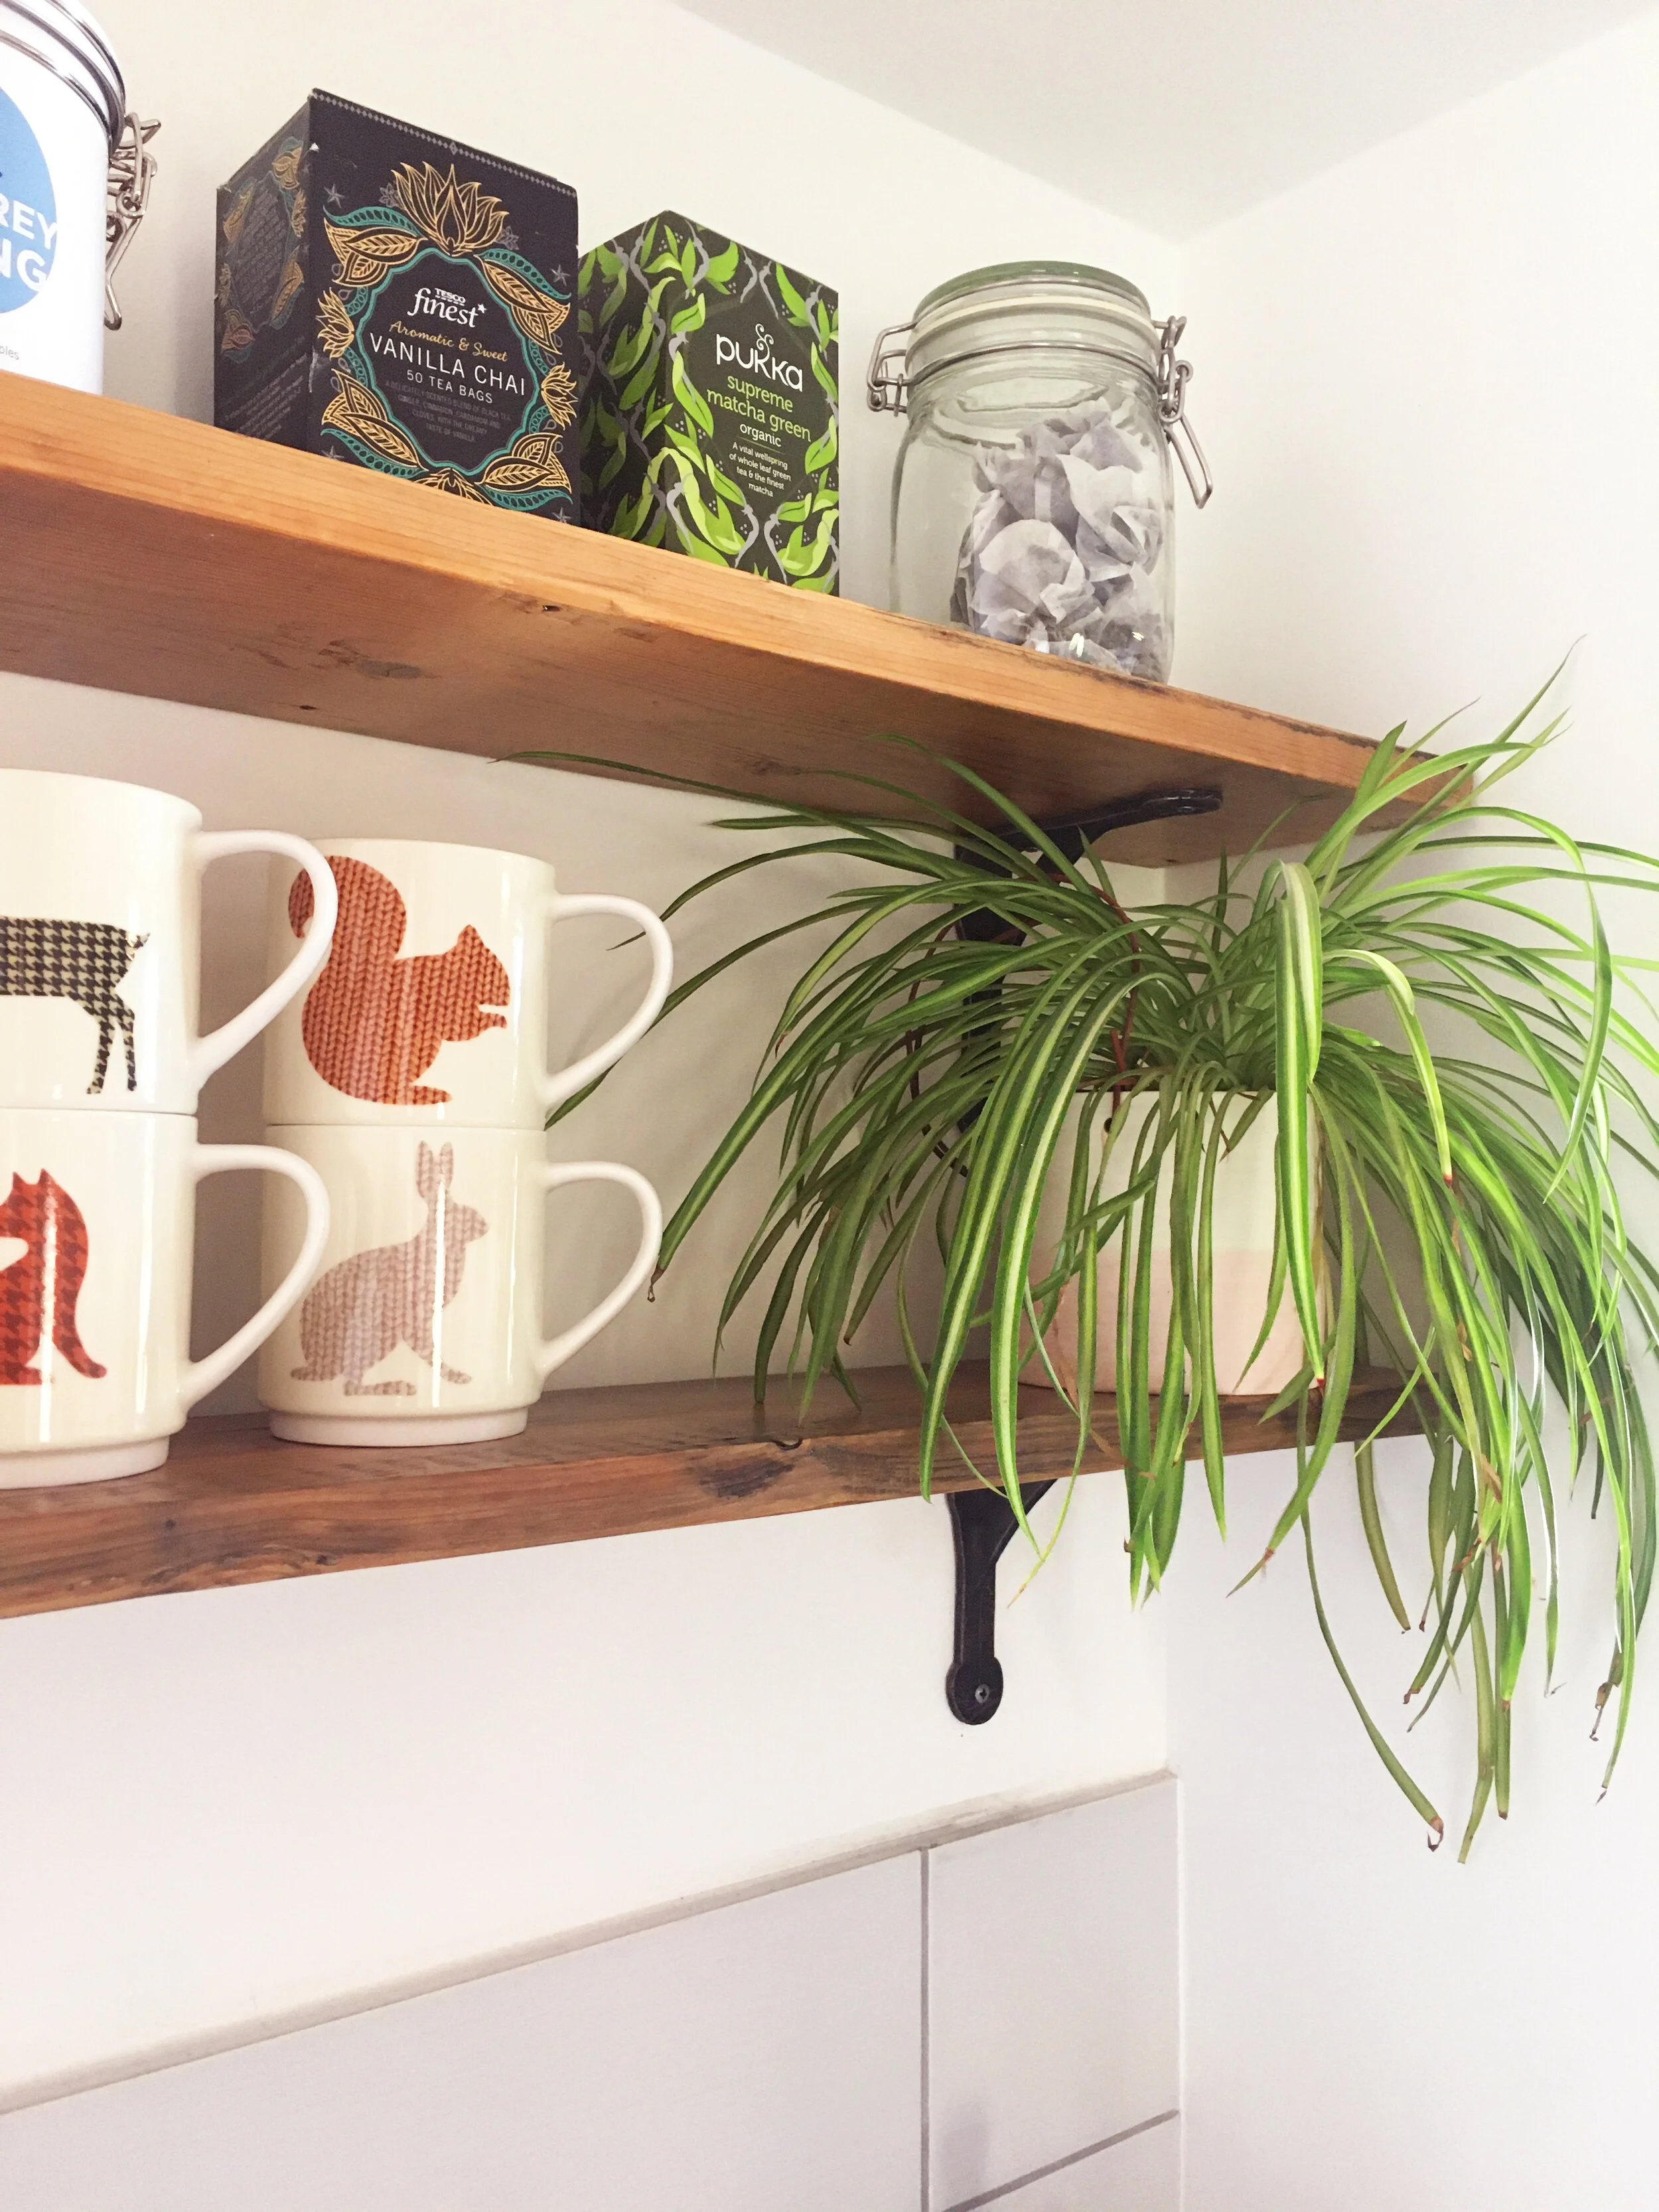
To complete the look we ordered two sets of these rustic, black shelving brackets. Then we secured both shelves to the wall and voila; our cosy little coffee nook was complete!
If you’re into DIY and/or in the thick of a renovation make sure you read up on the story of our home renovation. It’s a whole drama, so settle in and read through steps one to three or, if you’re the kind of person who likes to skip to the end of the book you can just catch the latest update here.


